Painting the garage roof last summer made me realise how hot it is up there in the sun. If the sun could bake me in half an hour, surely I could use it for more useful things like drying food! We have a food dehydrator, but why use electricity when there's the whole power of the sun up there to make dried fruit and fruit leather for free?!

Dried Fruit
Last year I made bulk amounts of dried apple, and have just done some amazing apricots.
What you need:
- a sunny hot place! I use my garage roof, and I find the hot metal reflects the sun and warmth beautifully. You could use a sheet of dark iron at ground level if access to your roof is difficult.
- drying racks: I made some by stretching thin cheesecloth over a light wooden frame (see the pic below). I also use my dehydrator racks. I'd avoid placing your food directly on the metal cos of chemicals that could leach into your food.
- good weather! Depending on what you're drying, you'll need at least one, but most probably two cloudless sunny warm days.
- Slice the fruit thinly (the thinner the faster it'll dry). For apples I use a food processor with a 'slicing' function to make this step faster. For apricots I sliced them by hand about 3mm thick.
- Spread slices of fruit evenly on the racks and place in sun.
- Check after several hours, and turn over as needed.
- When the pieces are dry and leathery, they're ready to eat.
- Place the pieces in plastic bag & leave them in your freezer for 24 hours. This 'pasteurizes' them, nuking any unwanted bugs that may like your dried fruit too.
- Take out of freezer and store in airtight containers. from my experience they'll last for ages (several years...if you don't eat them sooner, that is.)

Fruit leather
A bit more complex than the simple dried fruit as you have a runny mixture to handle, but the result is definitely worth it and you can make use of fruit not so easy to dry by itself.
You'll need:
- the same drying set up as above, plus:
- baking trays / thin baking sheets / racks lined with plastic. (I cut up thick plastic bags & lay on my dehydrator racks.)
- In a food processor, blend together whatever combinations of fruit you have on hand and think'll taste good. I've just made a great batch of plum, rhubarb and beetroot (The rhubarb & beetroot were cooked first.) Be aware that the taste will intensify as the leather dries out - so if it's a bit sour when blended up, add some sugar or honey.
- Spread the mixture thinly (3 - 4mm) on the trays. Lay in the sun. (Of course as the mixture is runny, you'll need a flat surface for this stage!!!)
- Check after several hours, and when the surface of the mixture is rubbery and 'tacky' to touch, it's time to turn it over...
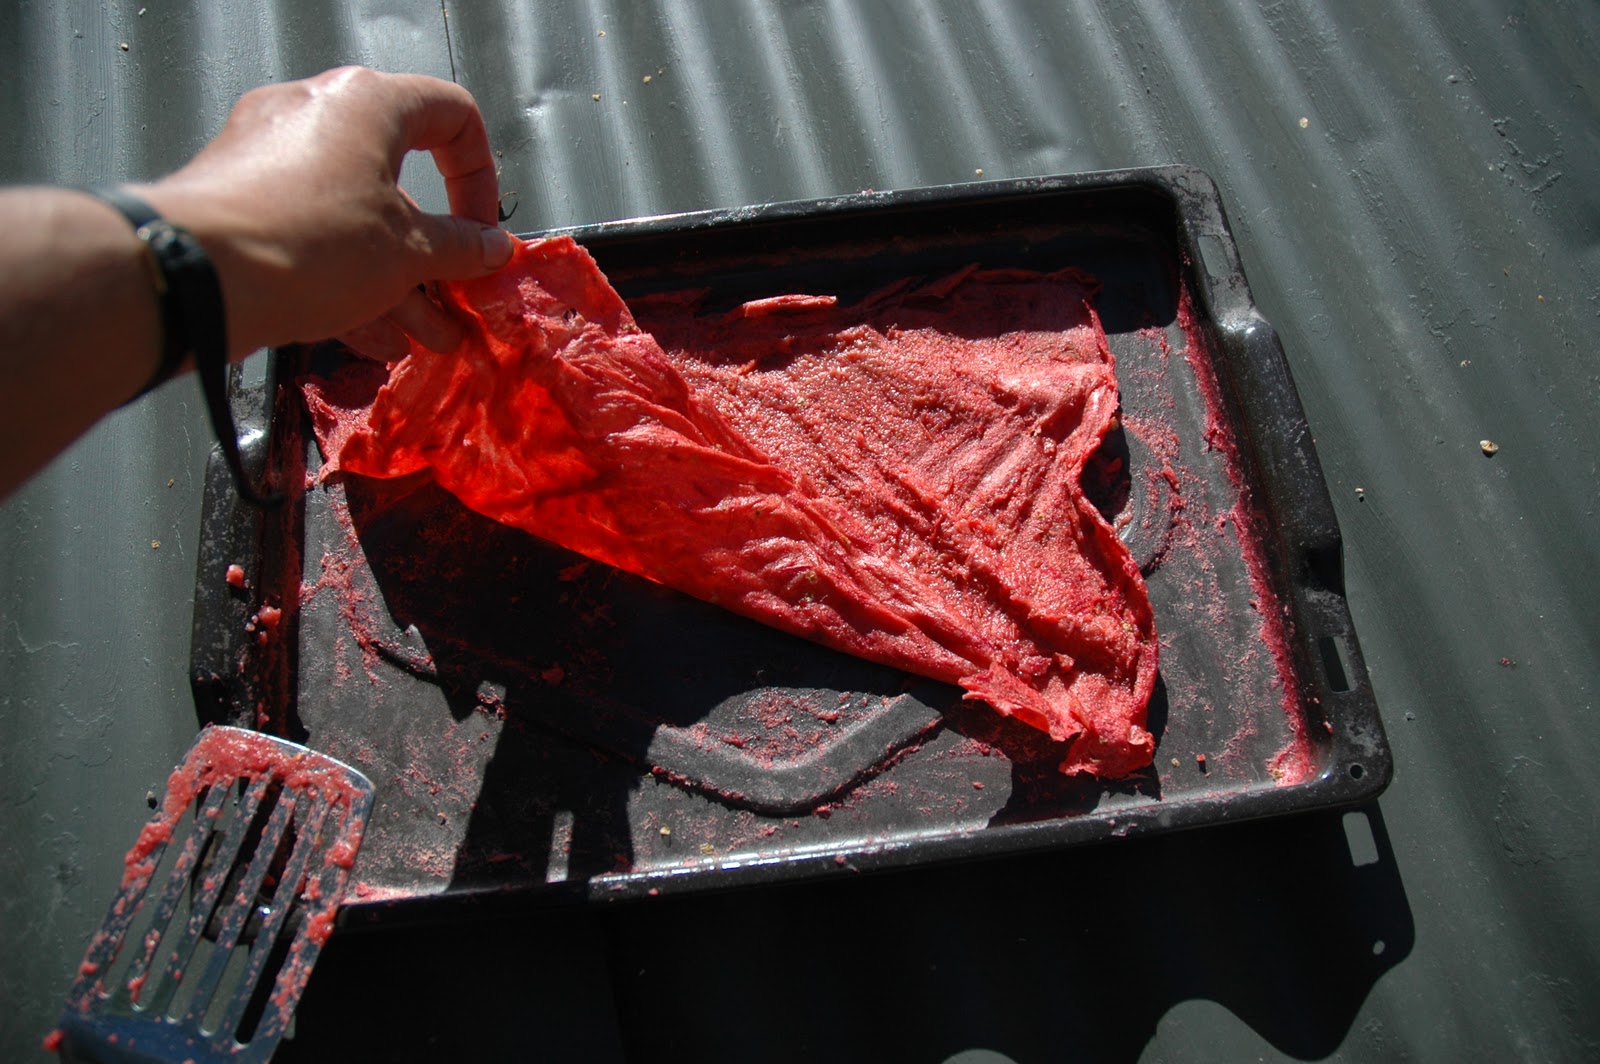
- If you used a baking tray, get a spatula and lever the leather off the bottom...if it's dry enough on top it should come away in one big sheet...and turn it over (easiest to turn it onto a new sheet or onto your cloth rack). If you used plastic to line your tray or rack with, flip the whole thing over & peel the plastic off the bottom.

Enjoy!
A revelation! sign me up for a fruity sunlovers course anytime :-)
ReplyDelete